
WE are also offering that class a few more times coming up as well as An Earth day family class special next week where we will turn old t shirts into bags.


I have made the switch and I am testing the waters .....
I am pretty sure this was the droid I was looking for!
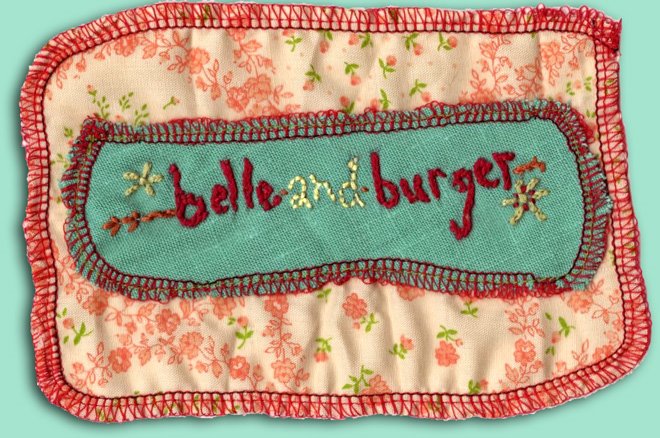
A few random pics taken with the old phone of new stuff I made lately.


 ~These
stuffed hearts are made mostly from my scrap pile. They are a little
bigger than an open paw…measuring at about 7” across the heart at its
widest part.
~These
stuffed hearts are made mostly from my scrap pile. They are a little
bigger than an open paw…measuring at about 7” across the heart at its
widest part.  Mine
are stuffed with fluff and I had someone in mind for each as I pieced
each one together using tiny bits of love and thought to make it as
special as it’s recipient.
Mine
are stuffed with fluff and I had someone in mind for each as I pieced
each one together using tiny bits of love and thought to make it as
special as it’s recipient. (or make you own heart pattern (sew easy!!) If you want to use mine
just print it at 100% on an 8.5”x11” paper. The pattern uses 1/4’ seams.
(or make you own heart pattern (sew easy!!) If you want to use mine
just print it at 100% on an 8.5”x11” paper. The pattern uses 1/4’ seams.
 I used appliqués as
sort of my main theme (I like to use fusible interface with my
appliqués) Then I added buttons and bits of fabric and ribbon here and
there to move your eye around.
I used appliqués as
sort of my main theme (I like to use fusible interface with my
appliqués) Then I added buttons and bits of fabric and ribbon here and
there to move your eye around. Remember to attach your embellishmets from the bottom up ,
  ...with buttons and bows being attached last.

 With wrong sides together, sew a 1/4” seam around the heart
  ... leaving about a 2.5-3” opening to turn out of.
 Start your seam about and inch or so from the bottom of the point of
your heart so your opening will be on the bottom side of your
heart.(about where my scissors are lying is where I started sewing down)
Start your seam about and inch or so from the bottom of the point of
your heart so your opening will be on the bottom side of your
heart.(about where my scissors are lying is where I started sewing down)


![]()


